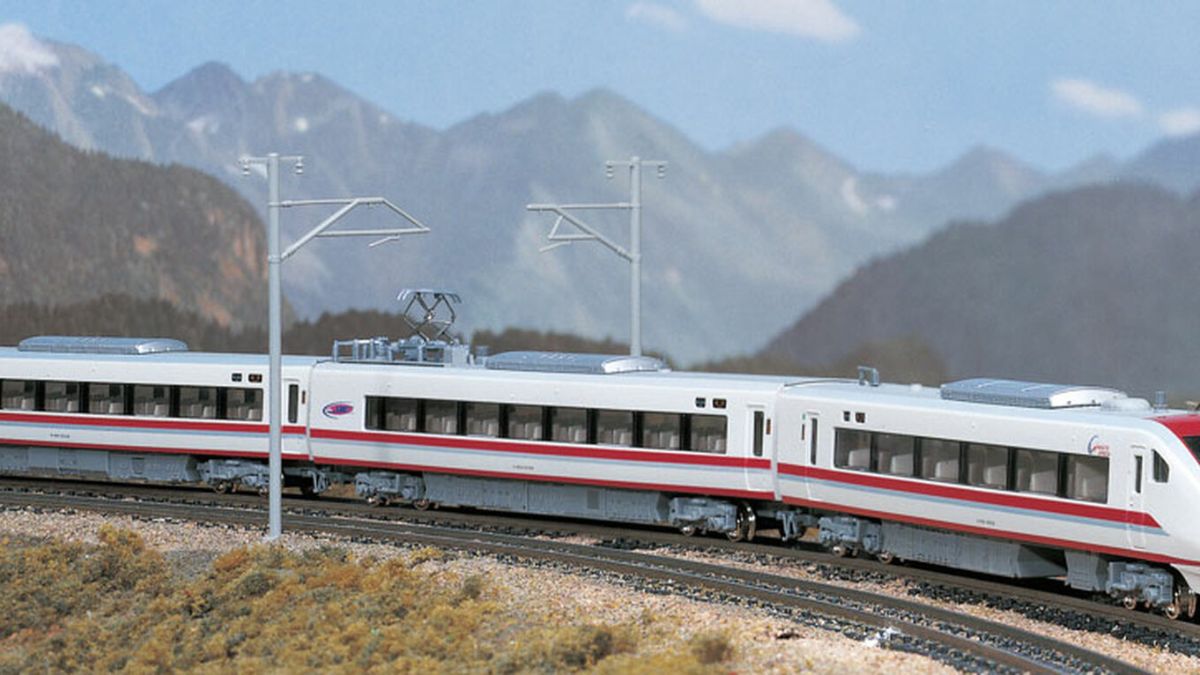
When it comes to model trains, few brands enjoy the reputation Kato has built for delivering finely detailed, highly accurate models. Among their most iconic trains is the Kato 381 Series, a beautiful reproduction of the tilting train that has captured the hearts of hobbyists worldwide. However, even the most perfectly manufactured model can still feel a little “too new” right out of the box. This is where weathering comes into play.
Weathering is the art of adding wear and tear to a model, mimicking the look of years spent on the rails. For the Kato 381 Series, weathering can transform your pristine train into a lifelike representation of a hardworking machine that has truly earned its place in history. Whether you’re a beginner or experienced modeler, this comprehensive guide will help you master the techniques required to bring realism to your 381 Series.
Why Weathering Matters in Model Railroading
Before we dive into the techniques, it’s important to understand why weathering matters. For model railway enthusiasts, realism is everything. Weathering adds depth, character, and stories to your models. It helps you achieve a level of authenticity, making your layout feel alive, as if your train has been rolling through miles of tracks, facing the elements day after day.
The Kato 381 Series, with its tilting mechanism and sleek design, is a joy to behold. But without weathering, it runs the risk of looking like a fresh-off-the-factory model rather than a piece of history. Adding grime, rust, and fade tells a visual story—a story of countless passengers, many adventures, and countless miles.
Tools and Materials You’ll Need
Before you begin weathering your Kato 381 Series, gather the following materials:
- Weathering powders (earth tones, gray, black, and rust)
- Acrylic paints (matte preferred)
- Pastels (soft chalk pastels in complementary colors)
- Specialized brushes (fine-tipped and wide brushes)
- Airbrush (optional for advanced users)
- Masking tape (to protect certain areas)
- Fixative or sealant spray (ensures your work stays intact)
- Cotton swabs and sponges (for blending and corrections)
These tools will help you create layers of color, texture, and realism.
Step-by-Step Weathering Techniques for the Kato 381 Series
Step 1: Do Your Research
Before you start applying paint or powders, study the real 381 Series train. Look at reference photos for details like where grime accumulates, how paint fades from the sun, and where rust tends to form. Pay attention to the undercarriage, roof, and bogies—these are usually the first areas to show wear over time.
Step 2: Prepare Your Model
Clean your Kato 381 Series thoroughly with a soft, lint-free cloth to remove dust and oils that may prevent paint from adhering properly. If there are movable components, like tilting mechanisms, ensure that they are functional but masked off if you won’t be weathering them.
Use masking tape to cover windows, lights, and other areas you wish to keep clean during the weathering process. Preparation is key to ensuring a professional finish.
Step 3: Applying Grime
Grime gives the train an aged, well-used look—perfect for the undercarriage, bogies, and vents. Here’s how to do it:
- Mix dark earth-tone weathering powder with a bit of water to create a muddy paste.
- Using a stiff brush, stipple the mixture onto the undercarriage and bogies. Focus on cracks, corners, and crevices where dirt would collect naturally.
- Once dry, blend the edges using a slightly damp cotton swab for a seamless transition.
This technique creates depth by simulating years of accumulated dirt.
Step 4: Painting Rust Details
For a train that’s spent plenty of time exposed to the elements, rust is an essential element of weathering. To create realistic rust:
- Mix shades of orange, brown, and red acrylic paints for rust tones.
- Using a fine-tip brush, gently touch areas like the wheels, couplers, and edges of panels where metal might corrode.
- For a more textured look, dab chalk pastel dust in rust shades over the wet paint.
Allow it to dry completely before handling your model. The fine details will make a world of difference.
Step 5: Simulate Faded Paint
Fading paint can lend an authentic sun-bleached look to your model. This is especially important for the 381 Series, as its body panels are exposed to constant sunlight and harsh weather.
- Mix light gray or white acrylic paint with water to create a very thin wash.
- With a wide brush, gently apply this wash over the body panels, particularly the top areas of the train.
- Use a clean, dry sponge to blot and blend the wash immediately to avoid streak marks.
This wash mimics years of exposure to sunlight and harsh elements, giving your Kato 381 Series a beautifully aged appearance.
Step 6: Highlight Roof Grime
Train roofs are notorious for gathering dirt, soot, and grime from constant exposure to smoky environments. Recreate this effect as follows:
- Use a mix of black, brown, and gray pastels to create a smoky, dusty texture.
- Apply the mixture to the roof using a dry, wide-tipped brush. Focus on vents, fans, and other roof details that are prone to collecting grime.
- Blend with a soft sponge to avoid harsh contrasts, and lock in your work with a sealant spray once complete.
Step 7: Fine-Tuning with an Airbrush
If you have experience with an airbrush, this tool can elevate your weathering work. Use it to apply subtle layers of grime along the sides or add shadows for greater realism. Be cautious not to overdo it—less is often more when airbrushing for weathering purposes.
Step 8: Sealing and Protecting Your Work
Once you’re satisfied with your weathering, apply a fixative spray or sealant in a matte finish to protect your hard work. This will also ensure that powders, paint, and pastels remain intact during handling and operation.
Tips for Beginners
- Start small. Experiment with one panel or area before tackling the entire model.
- Take breaks. This allows you to review your progress with fresh eyes and avoid overdoing any effect.
- Practice on a spare model or an inexpensive piece to build confidence.
- Remember, you can always add more weathering, but it’s harder to remove what’s already applied.
Wrapping Up Your Weathered Masterpiece
Weathering the Kato 381 Series is more than a technique—it’s an art form that brings your model to life. With the right tools, research, and a bit of patience, you can transform a pristine model into a rolling piece of history with character and intrigue.
The satisfaction of knowing that you’ve tailored your train to stand out while remaining true to its story is unparalleled. Plus, the authentic weathering will enhance how your model fits within your layout, creating a more immersive and believable scene.
Unleash your creativity, experiment with techniques, and above all, have fun bringing your Kato 381 Series to life on the rails.